IRC is carrying out Chemical Cleaning services by the name of its sister concern company RA CHEMTECH PVT. LTD. Till date we have carried out cleaning for units upto 660 MW capacity . We have carried out cleaning of boilers using Citric Acid, HCL and EDTA as major chemicals. In case of Condensers we have used majorly Sulphamic acid as a cleaning agent, and have got Repeat Orders from clients like NTPC,RVUNL etc.. We have carried out Acid Pickling and cleaning of Pipings.
At Present ,RAC has procured lot of material such as pump, motor ,pipings, valves and tanks to make cleaning activity successful. We can carry out a minimum of 3 Chemical Cleaningsof Boiler and 2 Chemical Cleaning of Condensers at a time. Our pump and motors have been procured recently so issues like wear and tear at site donot take place. Also, we are regularly getting the maintainance done for our Pump and Motor after each site to maintain the reliability of our equipments.
Our main motto is to be able to make our client equipment deposit free. To achieve it we are fully committed to provide a safe, leakage free cleaning process.
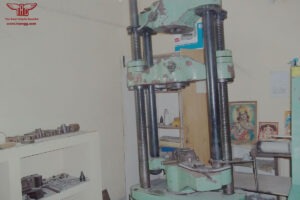
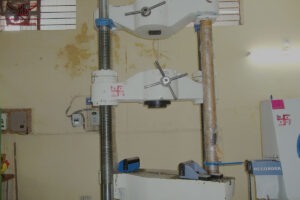
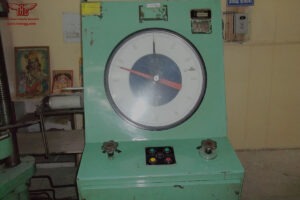
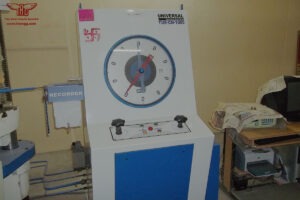
Tensile Test
Is carried out to determine materials ultimate strength, yield stress, and ductility in terms of percentage elongation and reduction in area. The test comprises application of axial load to a specifically designed test specimen, to cause rupture. Yield Point is the first stress in a material, less than the maximum obtainable stress, on which an increase in strain occurs without an increase in stress. Yield point is generally characterized by a sharp knee or a discontinuity in stress versus strain is an auto graphic recording. Tensile strength is determined by dividing the maximum load the specimen sustains during a tension test by the original cross-sectional area of the test specimen. The Elongation is the increase in length of the gage length, expressed as a percentage of the original gage length. The Reduction of Area is determined by measuring the mean diameter or the width and thickness of the smallest cross-section of the ruptured test specimen. The difference between the area thus found and the area of the original cross-section expressed as a percentage of the original area is the reduction of area. Tensile Test is generally carried our as per .
ASTM A 370, IS: 1608, API-SL, API-1104, ASME SEC-IX, BS etc
Rockwell Hardness Test
In this test a Hardness Value is obtained by determining the depth of Penetration of a diamont point or a steel ball in to the test specimen under certain arbitrarily fixed conditions. An initial penetration is caused by applying a minimum load of 10 kg which sets the penetrator on the sample and holds it in position. Depending on the scale being used, a major load is then applied, which increases the depth of indentation. The major load is removed and with minor load still acting, the Rockwell number which is proportional to the difference in penetration between the major and minor load is determined. This is an arbitrary number which increases with increasing Hardness. The Rockwell scales frequently used are B and C.
APPLICABLE TEST PROTOCOL: ASTM E18.
Brinell Hardness
Hardness is generally defined as resistance offered by a material to penetration. In this test, a specified load is applied to a flat surface of the test sample through a hard ball of specified diameters. The average diameter of the indentation is measured and used as a basis for calculating the Brinell Hardness number (BHN) by the equation:
BHN = P/ [ (∏D/2) (D- √ D2-d2) ]
Where P = applied load (kgf)
D = diameter of the steel ball in mm, and
d = average diameter of the indentation in mm.
Other loads and different size indentors are also used when so specified. In recording the Hardness Values, the diameter of the ball and load are stated except when a 10mm ball and 3000 kg load are used. In Reporting, the Hardness value precede the scale symbol; for example : 353 BHN. Note : Steel Ball as an indenter is used for materials having hardness up to 450 BHN. For materials having hardnees > 450 BHN, a carbide ball is applied.
APPLICABLE TEST PROTOCOLS : ASTM E10, IS: 1500
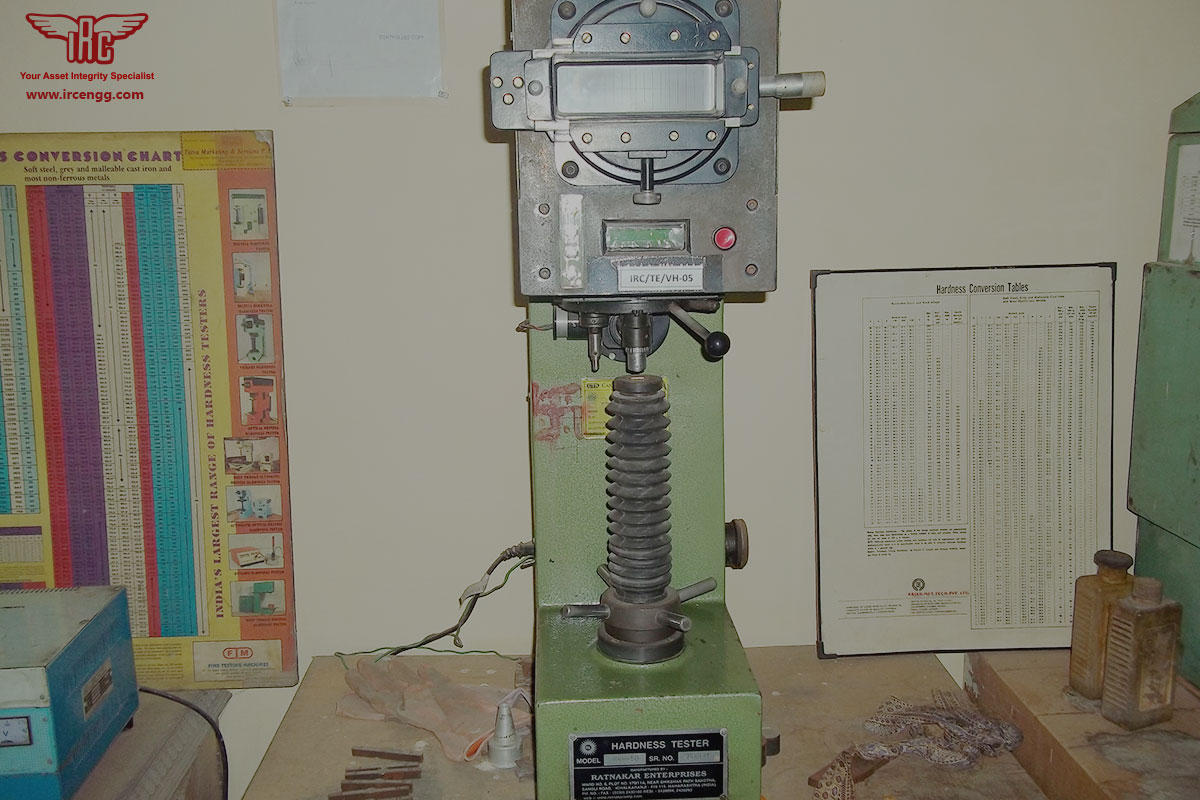
Vickers Hardness
The Vickers Hardness test is carried out for measuring Hardness of metals and alloys of all types, load or soft, flat, round or of irregular shapes. A regular pyramid having a square base and a smoothed off point made of diamond is pressed in the material to be tested under a certain load. The produced impression is projected to the screen through an optical mechanism and diagonals of the impression are measured by means of measuring equipments, which generally forms a part of the test equipment. Depending upon the materials characteristics, the application of load is predetermined from the available load selectors of 1,5,10,20,30 and 50kgf.
APPLICABLE TEST PROTOCOLS : ASTM E92, IS:1501
The mathematical formula for calculating the Vickers Hardness number is VHN=1.854 F/d2 where F – Force applied in Kgf
d – Mean diagonal distance of the edges of the diamond impression
Charpy Impact Test
A Dynamic Test in which a notched specimen is struck and broken by a single blow in a specially designed testing machine. The values thus obtained are absorbed energy (resistance offered by the test specimen to shear fracture)., the lateral expansion opposite the notch and percentage shear area.
Test temperatures other than room temperature are specified in product or general requirement specifications. The laboratory is well equipped to conduct impact tests up to minus 200c.
About charpy impact Charpy Impact machine is the one in which a notched specimen is broken by a single blow of freely swinging pendulum. The pendulum is released from a fixed height. Since the weight to which the pendulum is raised prior to its swing and the mass of the pendulum are known, the energy of the blow is predetermined. A scale is provided to indicate the energy absorbed in breaking the specimen. The machine is equipped with a fixture to support a test specimen at a precise location so as to facilitate pendulum strike directly opposite the center of the notch.
For impact testing other than at Room temperature, the test specimens are soaked in a media at specified test temperature under controlled conditions, generally deployed low temperature media are chilled fluids, solidified CO2 , Liquid N2 , plus organic solvents having low freezing points.
Handling equipments : Specially designed SELF CENTERING Tongs are used for precise placement of test specimens en-route from cooling bath to machine anvil. The entire cycle of specimen taken from cooling bath, its placement at anvil and subsequent release of pendulum from its latched position and breaking of the sample is completed well within the specified time limit of 5 Seconds. The laboratory has two impact test machines, one each confirming to ASTM E-23 and BS EN 10045-2.
APPLICABLE TEST PROTOCOLS : ASTM A 370, IS : 1757, BS : EN 10045-2.
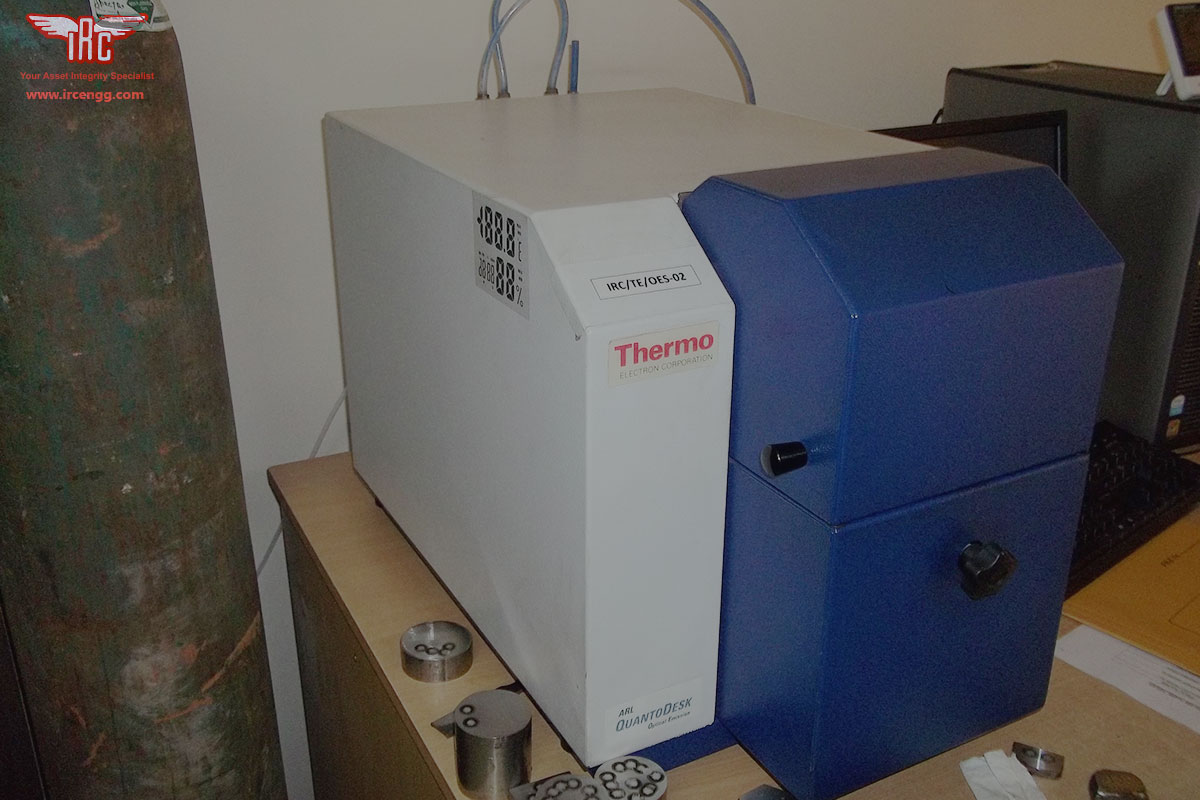
Spectro
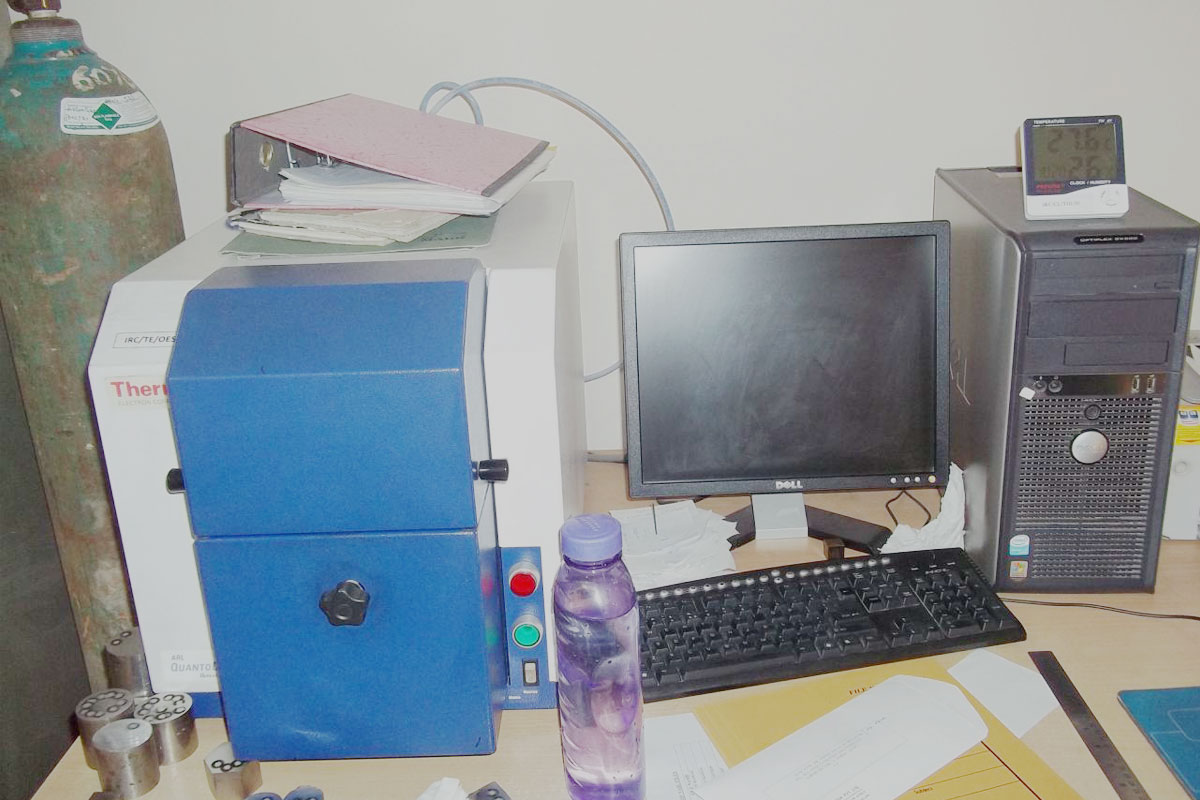
IRC Lab is Equipped with ARL Qualntodesk optical emission Spectrometer for the quantitative analysis of metals and their alloys. The instrument can be used for :
- Quantitative Analysis
- Grade Identification / Alloy Verification
- Go / No Go Sorting
The instument contains a solid-state spectrometer with a source unit poweing a full size conventional spark- stand. The Hardware is PC Controlled by software running microsoft windows XP and W in DPI.
The procedure followed for spectro analysis includes :
- Versample for its adequacy ification of for spectro analysis.
- Selection of proper base w.r.t. probable chemistry of the sample and standardization / calibration of equipment with applicable certified reference materials.
- Initiation of spark in purged Argon gas which is completed in following three stages:
- Argon Flush
- Pre-Spark
- Exposure
Average of three consistant observations is calculated for declaring the final test results.
Positive Material Identification
IRC Engineering Services has been carrying out jobs for identification of alloys. Using various X-Ray Florescence (XRF) instruments, engineers at IRC can provide elemental identification and quantitative determination without regard to form, size and shape. It is a non-invasive procedure of chemical analysis which can be used at the location of object by a portable instrument .
With Positive Material Identification (PMI) , alloy composition, or identity of materials can be determined. In the event, reference certificate of material is not traceable or missing or/and material composition needs to be established , PMI as an NDT method is the best solution.
IRC has been frequently rendering its PMI services, where a large quantity of products have been mixed up , Where component is an integral part of an assembly ,or specimen is large enough to restrain its transportation.
Feritscope
IRC laboratory has commissioned the Feritscope Instrument from Fischer Technologies. The engineers were given exclusive training for the usage of the instrument .The instrument is robust, easy-to-use handhold instrument FERITSCOPE , the probe with plug-in allows rapid non-destructive and accurate measurement of ferrite content on-site or in the laboratory. Based on the magnetic induction method, the device measures the ferrite content in austenitic and duplex steel.
The measuring range is 0.1 to 80 % delta ferrite or 0.1 to 110 FN. Different units of measurement are possible: either measurable in measured variable “percent ferrite % delta ferrite” or alternatively “ferrite number FN”.
IRC has now provided services to know the ferrite content in:
- Welded joints
- Surfacing or cladding
- Duplex steel.
The device is equipped with a USB interface for PC and printer. There are storage facilities for up to 20,000 readings in up to 100 calibrated applications. Both numerous statistical and graphical analysis options are included in the unit.
 IRC Engineering Services