September 2018

All posts from September 2018

Why use Ultrasonic Phased Array instead of Radiography?

by ircengg on September 8, 2018

Radiography and ultrasound are the commendatory nondestructive testing (NDT) techniques that can volumetrically inspect welds and components for various defects like porosity, lack of fusion, cracks etc.
Choosing the right option often depends on external process decisions or small distinctions in the detection capability for a particular test. However, Ultrasound has progressed as a replacement for Radiography, not just in practice but also in the codes of major organizations like API (American Petroleum Institute) and ASME (American Society of Mechanical Engineers).

PA is often incorporated with time-of-flight diffraction (TOFD) while the inspectors use acquisition units and scanners that can accommodate both the methods simultaneously.

Here are the Typical Advantages of Ultrasound in comparison with Radiography:

  • Accurate sizing of defect height and less number of rejects or repair while using Engineering Critical Assessment:
    • Ultrasound permits defect height measurement, enabling volumetric consideration of flaw severity.
  • High chances of detection (POD), especially for cracks and lack of fusion:
    • In most studies, Ultrasound tends to detect planar flaws better than radiography.
  • Does not cause hazard, does not emit radiation, and does not require additional licensing or personnel.
  • Does not generate any waste material or chemical (as opposed to film-based radiography).
  • Work in proximity to ultrasonic testing can continue uninterrupted. Does not require screened-off areas.
  • Setup and inspection reports are in electronic format (as opposed to film format in radiography).
  • Real-time ultrasonic analysis of welds can provide instant assessment and feedback to a welder.


Here are the Requirements for Typical Ultrasonic Equipment and Inspection

  • A scan plan with a procedure documenting the inspection strategy and necessary parameters. Example: Parameters that are set up with the use of NDT SetupBuilder software.
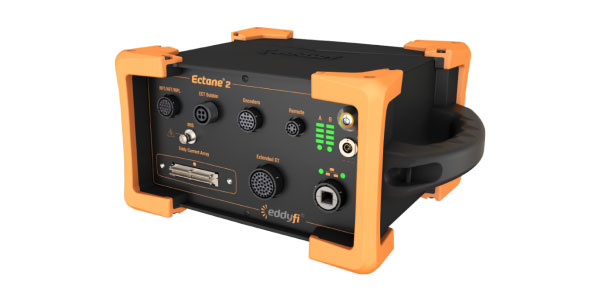
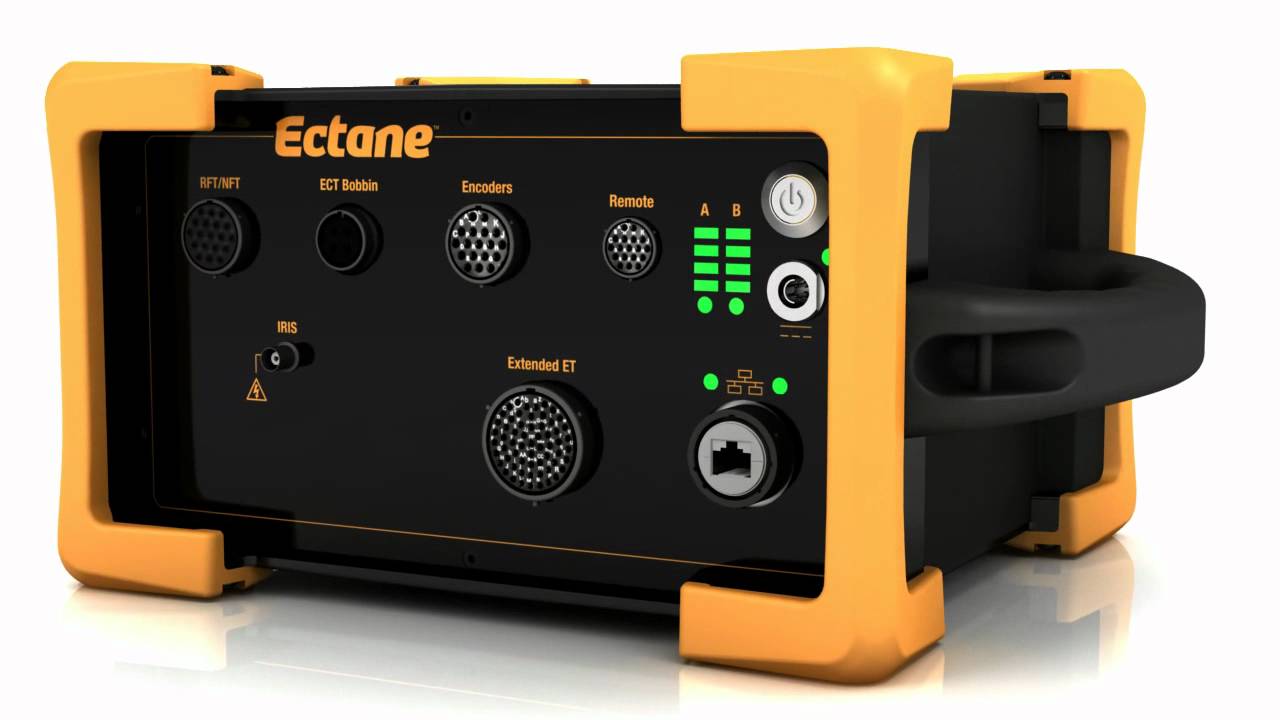
  • An acquisition unit with position-encoding ability and full, raw A-scan data retention.

Example: An OmniScan flaw detector or FOCUS PX instrument.

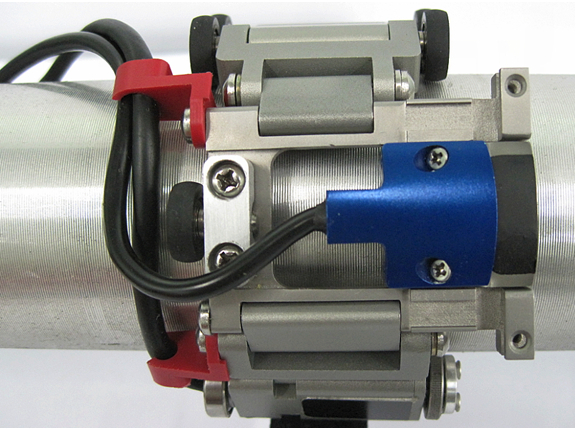
  • An industrial scanner (with position encoder) to repeatedly scan a weld or component semi-automatically or automatically:
    • The choice of scanner model is based on the number of pipe diameter, welds, and other application variables.
  • Deliverable data:
    • The analysis is directly executed on the acquisition unit or by the use of post-analysis with TomoView, FocusPC PC software or OmniPC.
  • Alternative acceptance criteria, as required.
  • Probes, wedges, couplant delivery equipment, and other accessories.
  • Proper training and certification of personnel.
  • Demonstrated performance of equipment, procedure, operator, and inspection process.

Conclusion

Replacing radiography with ultrasound has become a code-approved practice as well as an industry trend. The phased array equipment is convenient to use, economical, compact and associated software are accelerating the use of ultrasound. The prime reasons for this continuing trend includes improved safety of operators and others in surrounding areas, savings in process cost and time and the use of alternative acceptance criteria. The expanded use of ultrasound has led to a decrease in part rejection and repairs.

About IRC Engineering Pvt. Ltd.

IRC is one of the fastest growing Testing and Inspection company in India. We at IRC provide Non-Destructive Testing, Destructive Testing, Advanced NDT, Third Party Inspection, Condenser Testing, Electrical Testing, Residual Life Assessment of Power Plant, O&M Services, Fitness For Service, Civil Testing and Training services.

read more
ircenggWhy use Ultrasonic Phased Array instead of Radiography?

Eddy Current Array (ECA) Theory, Working and Benefits

by ircengg on September 8, 2018

Eddy current array (ECA) is a form of non-destructive testing technology which is capable of driving various eddy current coils placed next to each other in a probe assembly. Each coil generates a signal, the strength of which depends on the amplitude and the phase of the object the probe is placed over.
The generated signal can be measured and the date can thus be recorded. Through ECA inspections, most of traditional eddy current flaw detection methods can be re-created. Additionally, ECA technology comes with excellent advantages, saving time and boosting enhanced inspection capabilities.

How it Works

ECA is a sequence of single elements arranged in a row, which enables users to cover a vast area in a single pass than conventional, single-coil probes. However, this could result to substandard results. So, ECA probes use multiplexing.
Multiplexing requires activating and deactivating coils in particular sequences supporting the width of the probe. Additionally, Multiplexing minimizes the intrusion between coils in close proximity and magnifies the resolution of the probe.
When using ECT pencil probes, ECA probes eliminate the raster scanning necessary, leaving a powerful impact on inspection speeds.

Benefits

ECA provides a number of benefits, making inspection simpler for hard-to-reach areas. It is a major improvement over single-element ECT because of the following reasons:

  • It helps in quicker inspections
  • Is less operator dependent
  • Scans a wider coverage while maintaining a high resolution 
  • It possesses better detection capabilities
  • Has simpler analysis because of easy scan patterns
  • Provides enhanced sizing and positioning because of encoded data

About IRC Engineering Pvt. Ltd.

IRC is one of the fastest growing Testing and Inspection company in India. We at IRC provide Non-Destructive Testing, Destructive Testing, Advanced NDT, Third Party Inspection, Condenser Testing, Electrical Testing, Residual Life Assessment of Power Plant, O&M Services, Fitness For Service, Civil Testing and Training services.

read more
ircenggEddy Current Array (ECA) Theory, Working and Benefits

LONG RANGE ULTRASONIC TESTING OF PIPING

by ircengg on September 4, 2018

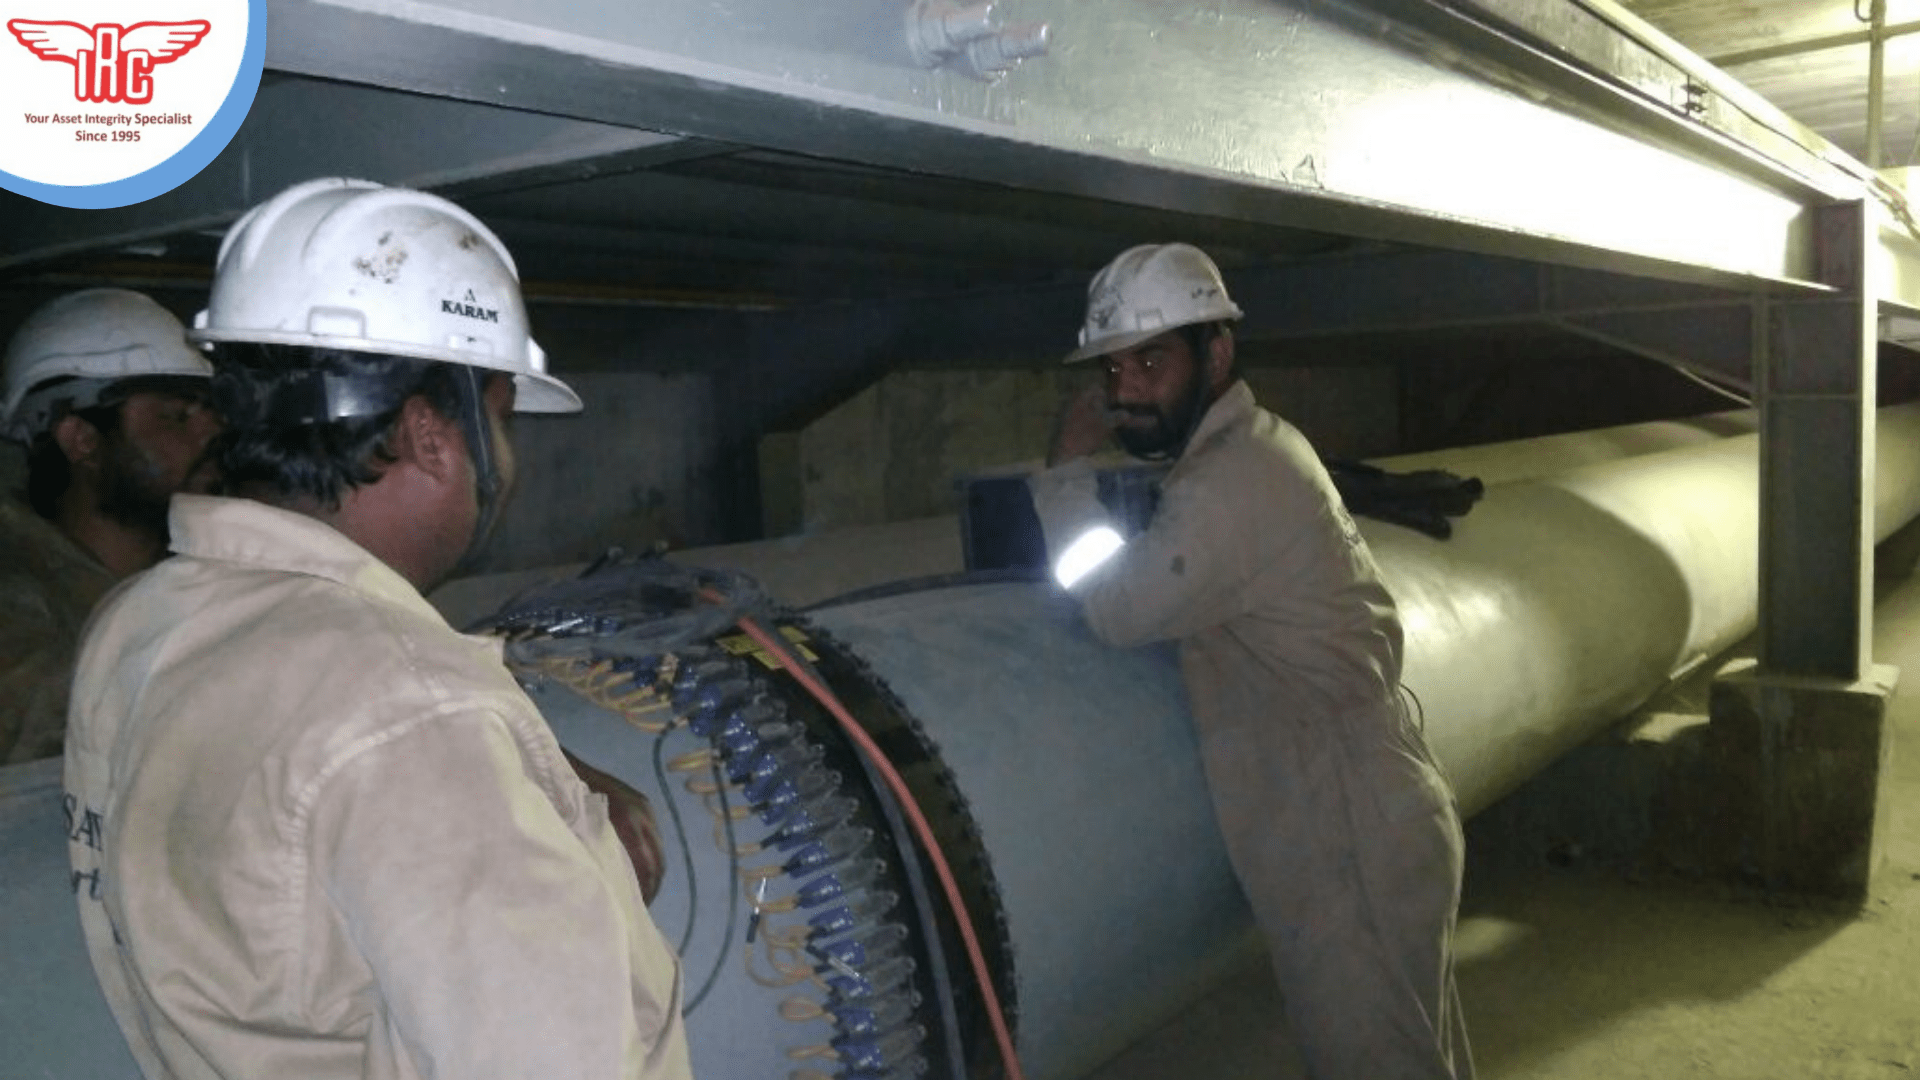
High quality engineering is made possible only by constantly testing the quality of the equipment. In piping, it is made sure that the integrity of the component has not been compromised. For the purpose of inspecting pipes and evaluating distribution of corrosion around the circumference, long range ultrasonic testing is one of the most preferred testing methods, also known as LRUT. This method is frequently used to inspect long pieces of pipes and proves especially valuable where the location is inaccessible such as culvert or those at high elevation, making it an economical way to test the pipes without spending on excavation, insulation removal and scaffolding.

IRC Engineering Services provides in-depth services that employ LRUT for accurate assessment of the condition of piping. Our inspectors are thoroughly qualified to assess piping through long range ultrasonic testing helping to maintain the best condition through early detection of any possible corrosion or ruptures.

Method

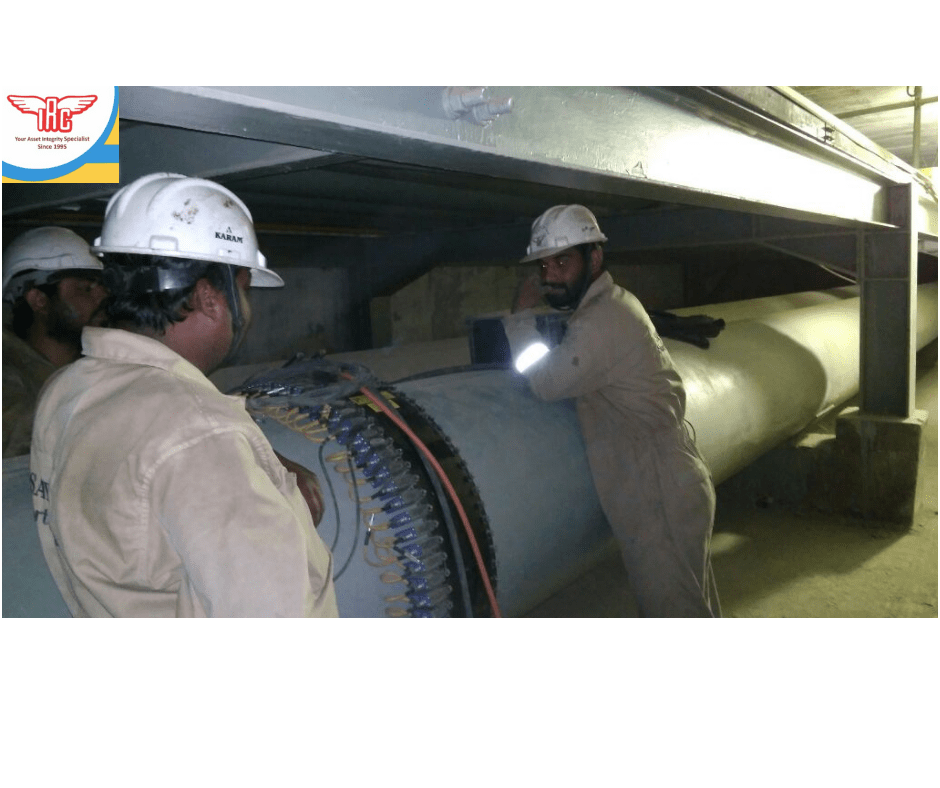
LRUT is performed through a process utilising low frequency flaw detector, pulse receiver, transducer rings and a monitoring apparatus such as a computer or laptop. The transducer rings are placed around the pipe and a low frequency set of waves is then generated, which traverses along the length of the pipe. When placed at equal distance from each other, these transducers emit waves that move symmetrically through the length of the pipe. Therefore, once these waves meet the corroded portions of the pipe, they are reflected back to the transducer. 

Since this method does not destroy the piping in any way and reduces the need to excavate the entire pipe to check for flaws, it is a cost effective method of testing that is preferred by industries all over the world. Our equipment Teletest FOCUS uses optimum level of ultrasound that is required to prime this equipment to be most sensitive to even the most minimal damage to piping. One can therefore rest assured that piping can be checked for all damages.

Benefits 

  • In-service inspection prevents production losses or downtime.
  • Entire length of the pipe can be assessed for integrity at a one time.
  • Examine 180 meters from a single test location. (90m on each side of transducer)
  • Examine 100% of the pipe circumferential wall from a single test location.
  • Reduction in maintenance cost as there is no requirement of removal of surface coating or insulation except the location at which the transducer has to be fixed.
  • C-scan imaging gives a pictorial view of the scanned area which helps in locating the defects.
  • GPS system installed in the equipment helps to locate inspected area.
  • Secondary focusing technique is a unique feature to focus the concerned area.
  • No couplant is required for the transmission of ultrasound.

Applications

LRUT has several field applications in various industries. The most popular use of LRUT is in the detection of corrosion. Full set of applications for long range ultrasonic testing is mentioned below:

  • Assessing pipes that are located deep below the surface of the ground.
  • Assessing pipes that are deep within walls or are encased.
  • Assessing pipes that are otherwise inaccessible such as overhead pipes, etc.
  • Assessing insulated pipes, as this method can detect the sound waves even through surface coating or padding.
  • Can be used to detect corrosion, areas of concern, weld root erosion for piping in refineries, chemical plants, power stations, underwater, in farms, sewers, etc.

IRC Engineering Services recommends that LRUT be performed in conjunction with other testing methods such as phased array ultrasonic testing, which will additionally test the pipe to check for the precise thickness of the pipe wall. Pulsed Eddy Current testing can also be done to check for the average thickness of the pipe wall, in case only a general figure is required.

Through this method of nondestructive testing, industries can detect any concerns with their piping to prevent or correct adverse situations such as pipe corrosion. With the help of our highly qualified engineers, you will receive a full assessment of the condition of your pipes through our precision methodology. 

Limitations

While long range ultrasonic testing of piping is an effective method to gauge any damage in piping, this method does have certain limitations. It is important to be aware of these limitations so that the correct tests can be performed on the piping to do a thorough check for corrosion, leakage etc.

  • Gives only an approximate measurement of wall thickness: Long range ultrasonic testing can detect variations in thickness of pipe walls, but does not provide an accurate estimation of the wall thickness. For this, a combination of tests can be done, included PAUT, PECT together with LRUT.
  • Complexity in assessment of pipes in waterlogged conditions: In case the pipe is lying beneath the surface in wet ground, travelling of sound waves can be made more difficult. This can hamper the testing process, leading to inaccurate results. It is therefore prescribed for use when the pipe is lying in dry conditions.
  • Cannot be used in very narrow or short pipes: Due to the passage of sound waves, the pipe has to have a minimum diameter of 1.5 inches in order for proper testing to be done. The pipe also needs to be of a suitable length to accurately assess. The recommended minimum pipe length is 5 meters.
  • Does not differentiate between type and location of corrosion: Long range ultrasonic testing is an effective method to detect the presence of corrosion, but does not allow the assessment of corrosion that is taking place actively or passively. It also does not allow the assessor to determine if the corrosion is taking place within the pipe or on its surface. Further testing using other methods needs to be done in this case.

Long range ultrasonic testing of pipes is meant to be used primarily as a screening method for pipe damage and should not be used to determine specifics about the type of corrosion, exact wall thickness etc. 

read more
ircenggLONG RANGE ULTRASONIC TESTING OF PIPING